Of course! Here are a few creative, neutral introductions for your article.
Option 1 (Metaphorical & Evocative)
Imagine a garden that defies gravity, where emerald leaves and vibrant fruits rise not from the earth, but from a cascade of sleek channels. This is the promise of the vertical grow bed-a space-saving solution that turns blank walls and sunny balconies into productive, living tapestries. By repurposing the simple mechanics of gutters and brackets, you can construct a sophisticated planting system that elevates your gardening, quite literally. This guide will walk you through the process of assembling your own vertical garden, transforming basic hardware into a thriving, elevated ecosystem.
Option 2 (Problem-Solution Focused)
For the aspiring gardener, space is often the final frontier. Balconies, patios, and small yards present a unique challenge: how to cultivate a generous harvest in a limited footprint. The answer lies not in expanding outwards, but upwards. Utilizing the straightforward principles of rainwater management, a vertical grow bed crafted from gutters and their corresponding brackets offers an elegant and efficient solution. Follow this step-by-step guide to learn how to assemble a structured, multi-tiered garden that maximizes your growing potential by building vertically.
Option 3 (Direct & Intriguing)
The most innovative gardens often begin with a simple reimagining of everyday objects. Consider the common rain gutter: a functional strip of aluminum or PVC designed for channeling water. Now, envision it as the foundation for a lush, vertical column of herbs, strawberries, or salad greens. By pairing these gutters with sturdy brackets, you can create a modular, elevated bed system that is both practical and visually striking. This guide details the precise steps to assemble your own vertical grow bed, a project that blends simple construction with the rewarding art of cultivation.
Option 4 (Minimalist & Modern)
Elevate your garden. The vertical grow bed, an assembly of gutters and brackets, is a study in efficient design. It is a structure that prioritizes vertical space, creating a cascade of planting opportunities from a single, secure anchor point. This method is clean, modular, and accessible. The following steps provide a clear blueprint for constructing your own functional and modern vertical planting system, turning a simple concept into a thriving reality.
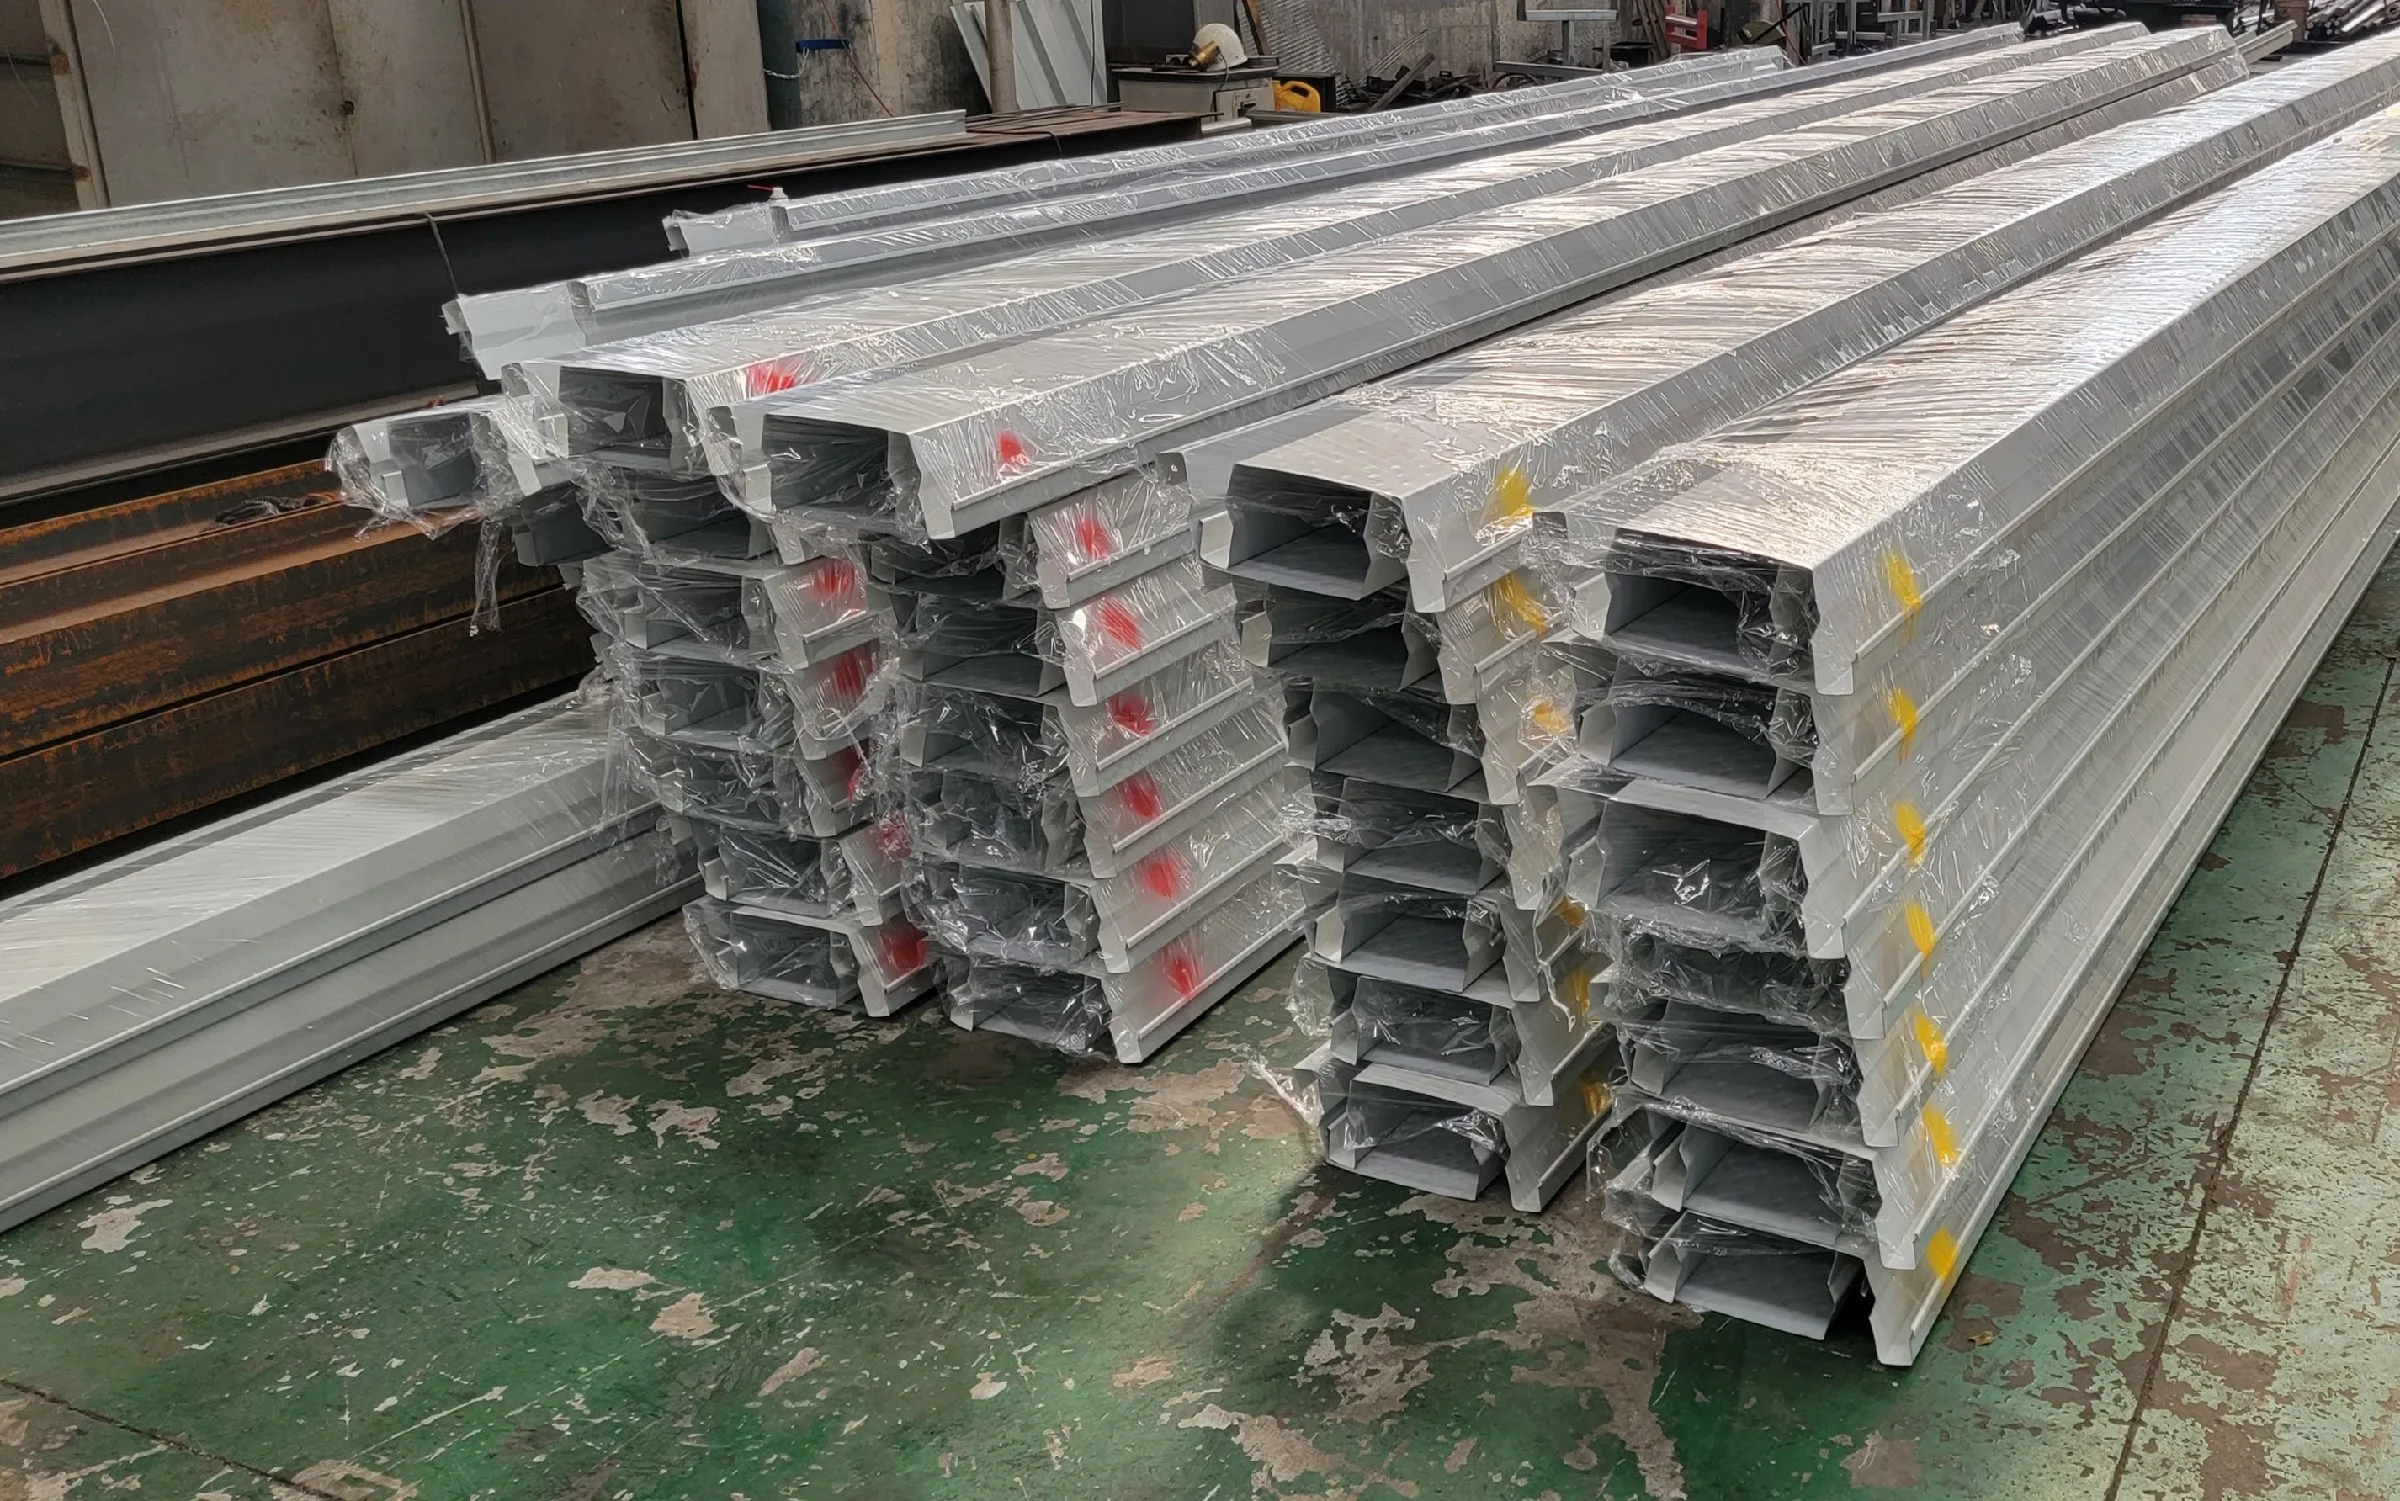
Gathering Your Materials and Tools
Before we dive into the assembly, let’s lay out all the necessary components. Having everything at your fingertips will make the process smooth and efficient. Think of this as your pre-flight checklist; a moment of preparation that pays dividends in a sturdy and functional final product.
| Material / Component | Purpose & Notes |
|---|---|
| Vinyl Gutters (10ft lengths) | The main planting channels. Vinyl is lightweight and resistant to rot. |
| End Caps | Seals the ends of each gutter section to hold soil and water. |
| Gutter Brackets | The essential hardware for mounting and providing structural support. |
| Silicone Sealant | For waterproofing the end caps-a crucial step for a leak-free system. |
Equally important are the tools that will bring your vertical garden to life. You won’t need a workshop full of specialized equipment; a few common items will do the trick perfectly.
- A Power Drill with Bits: Essential for creating drainage holes and driving screws into your wall studs or mounting surface.
- A Hacksaw or PVC Cutter: For cleanly cutting the gutters to your desired lengths with ease.
- A Tape Measure and Level: The dynamic duo for ensuring your grow bed is both perfectly aligned and precisely spaced.
- A Caulking Gun: To neatly apply the silicone sealant before attaching the end caps.
Preparing and Measuring the Gutter Sections
With your design plan in hand, it’s time to transform the long gutter channels into the distinct tiers of your vertical garden. This phase is all about precision, as accurate measurements here are the foundation of a stable and level final structure. Lay your gutter sections on a flat, stable surface, such as a workbench or a pair of sawhorses.
- Mark your cutting lines clearly using a tape measure and a permanent marker. A combination square will help you ensure perfectly straight lines across the gutter’s width.
- Secure the gutter firmly before cutting. A fine-toothed hacksaw or a powered reciprocating saw works best to create clean edges without cracking the material.
- After each cut, deburr the edges with a file or sandpaper. This crucial step removes sharp plastic burrs, preventing injuries and ensuring a snug fit with the end caps.
Before final assembly, take a moment to prepare each piece for its role in the system. The lowest section in each column will be your reservoir tier, requiring a water-tight seal. The upper sections, however, need provisions for drainage to create a continuous flow of water and nutrients.
| Gutter Tier Type | End Cap Treatment | Drainage Requirement |
|---|---|---|
| Reservoir (Bottom) | Permanently sealed with silicone | No drainage holes |
| Growing (Middle/Top) | Left unsealed for access | Holes drilled at one end |
For the growing tiers, use a drill with a spade bit to create 2-3 drainage holes, approximately 1/2 to 3/4 inch in diameter, clustered at the end that will sit slightly lower according to your planned tilt. This careful preparation ensures each section will function perfectly within the larger, interconnected ecosystem of your vertical grow bed.
Mounting the Brackets for a Level Foundation
This is where your vision starts to take physical shape. Before you even think about the gutters, the absolute priority is establishing a perfectly level foundation with the brackets. A slight misalignment here will compound into a significant lean later, putting stress on the entire system and potentially causing drainage issues. Begin by holding your first bracket against the wall at the desired height, using a spirit level to ensure it is perfectly horizontal before marking the screw holes.
- Mark with Precision: Use a pencil to mark all screw hole locations clearly.
- Pilot for Success: Drill pilot holes slightly smaller than your wall anchors to make installation easier and prevent material splitting.
- Anchor and Secure: Insert the appropriate wall anchors for your wall type (e.g., concrete, brick, wood stud) before firmly screwing the bracket into place.
Once the initial bracket is securely mounted, the key to a uniform look and functional stability is transferring the exact height to the other bracket locations. Don’t rely on measuring from the floor or ceiling, as these surfaces are rarely perfectly level. Instead, use a laser level to project a continuous horizontal line along the entire wall length where the grow bed will sit. This guarantees that every single bracket will be mounted at the identical height, creating a seamless and professional foundation for your vertical garden.
| Wall Material | Recommended Anchor Type | Key Consideration |
|---|---|---|
| Wood Stud | Heavy-Duty Wood Screws | Always drill directly into the stud for maximum strength. |
| Concrete/Brick | Concrete Sleeve Anchors | Requires a hammer drill for clean pilot holes. |
| Drywall (No Stud) | Toggle Bolts | Ideal for light loads; ensure the bracket is centered. |
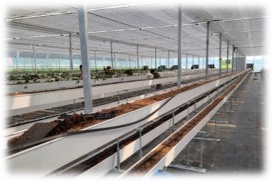
Assembling and Securing the Grow Bed Structure
With all your materials prepped, it’s time to bring your vertical garden to life. This stage is where precision pays off, transforming a collection of gutters and brackets into a sturdy, functional structure. Begin by attaching your first set of gutter brackets to the wall at your predetermined top height, using a level to ensure they are perfectly horizontal. A single misplaced bracket can throw off the entire system, so double-check your measurements.
Once the top row is secure, slide the first gutter section into place. The subsequent rows require careful spacing to accommodate your chosen plants’ mature size. For a uniform look and optimal light exposure, consider these general spacing guidelines:
- Leafy Greens (Lettuce, Spinach): 8-10 inches between gutters
- Herbs (Basil, Cilantro): 10-12 inches between gutters
- Strawberries: 12-14 inches between gutters
As you work your way down, fix each bracket securely before moving to the next. A final, thorough check of the entire assembly is crucial. Gently tug on each gutter to confirm it is firmly seated and cannot be easily dislodged, ensuring it can handle the weight when filled with wet growing medium.
| Bracket Type | Max Gutter Length Supported | Ideal For |
|---|---|---|
| Standard Plastic Bracket | 4 ft (1.2 m) | Lightweight setups, indoor use |
| Heavy-Duty Metal Bracket | 6 ft (1.8 m) or more | Longer spans, windy locations |
Of course! Here are a few creative yet neutral options for your article outro.
Option 1 (Metaphorical & Reflective)
And there you have it-your very own vertical garden, born from the simple lines of a gutter. What began as a collection of parts is now a living, breathing structure, ready for its first seeds or seedlings. As you step back, consider this more than just a planter; it’s a tiered canvas for greenery, a functional sculpture for your space. The framework is complete, but the true growth is just beginning. Happy planting!
Option 2 (Forward-Looking & Inspirational)
With the final bracket secured, your vertical grow bed stands ready, a testament to simple DIY ingenuity. This structure is more than a holder for soil and plants; it’s a new dimension for your gardening ambitions. It’s a blank slate awaiting the brushstrokes of basil, the cascade of strawberries, or the vibrant hues of annual flowers. The assembly is complete, but the creative part-the cultivation-is yours to start. May your new garden grow upwards and outwards.
Option 3 (Concise & Poetic)
The final piece clicks into place, transforming gutters and brackets into a ladder for life. This vertical stage is now set, its empty tiers a promise of future harvests and blossoms. You’ve built the architecture; now it’s time to invite the inhabitants. Watch as this functional framework slowly disappears beneath a curtain of green, a living wall built by your own hands.
Option 4 (Direct & Encouraging)
Your custom vertical grow bed is now assembled, a sleek and efficient system created from unexpected components. This structure is your foundation for a new kind of gardening-one that reaches for the sky. The steps are done, but the journey is just starting. Fill it with soil, choose your plants, and witness how a simple idea, carefully built, can truly take root.